Success in any craft is directly related to how well the details are understood and applied. In that sense, recording music is no different from any other craft. Microphones are an important part of our craft, whether you’re a beginner, prosumer or professional from any area of our industry (songwriter, producer, artist, DJ or engineer). A fundamental understanding of microphones is paramount to having control over your music, which leads to success. Let’s take control of our recordings by understanding the frequency response, features, polar patterns, types, cost and details of microphones.
Frequency Response
The first step in understanding microphones is knowing how to read a frequency response chart. If this term is unfamiliar, you may have seen one in the “tech specs” area while looking at a pair of speakers on a consumer electronics website. What is important to understand is that most pieces of gear and items used during music production have a frequency response, with the microphone being one of the most important and significant.
The range of human hearing is 20Hz to 20kHz. A frequency response graph maps the lowest frequency we can hear (20Hz) on the left side of the chart horizontally. The far right side is the highest frequency we can hear (20kHz). The column on the left side of the graph represents gain: how sensitive the microphone (or any piece of gear) is with respect to the horizontal position of the frequency.
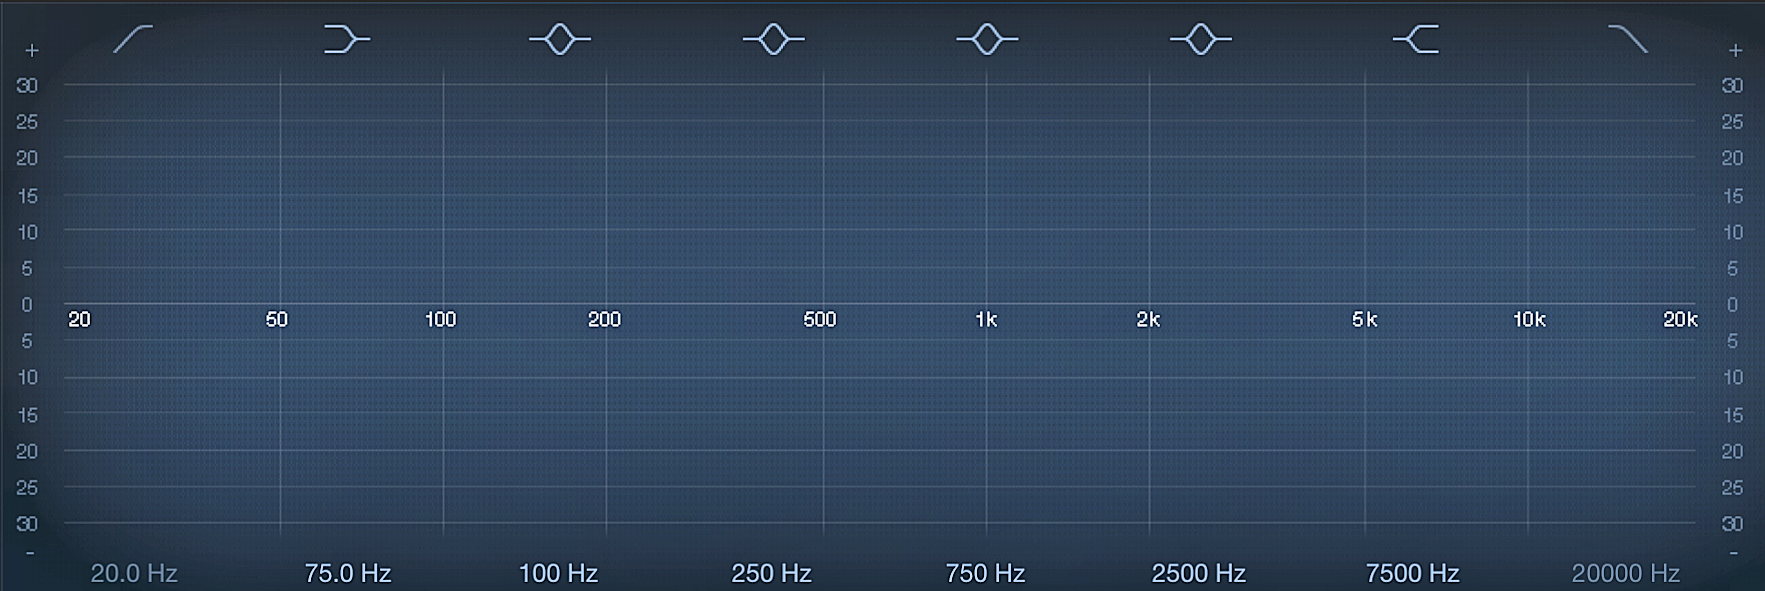
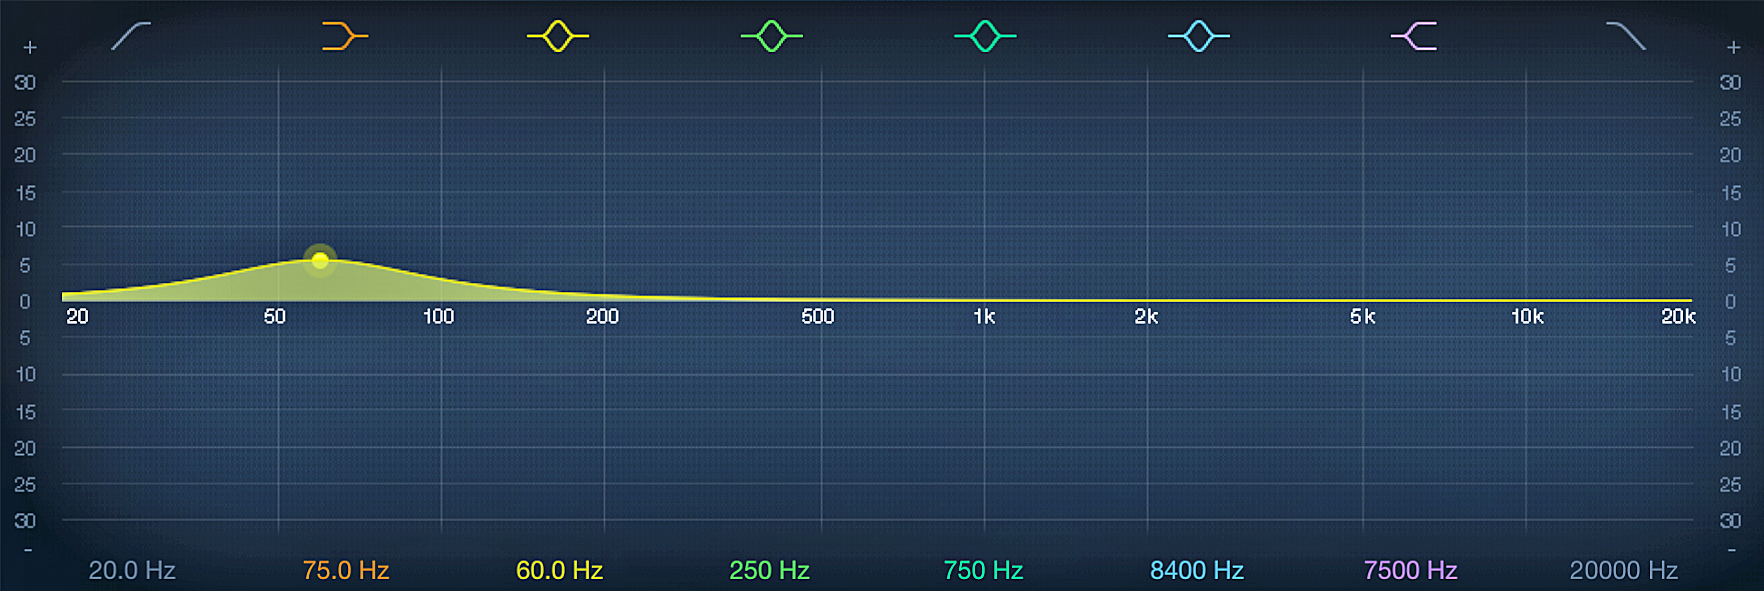
As a frequency curve moves up from the zero point, the microphone becomes enhanced at the affected frequencies. Below is an example of a frequency response chart of a signal that is boosted in the low-end:
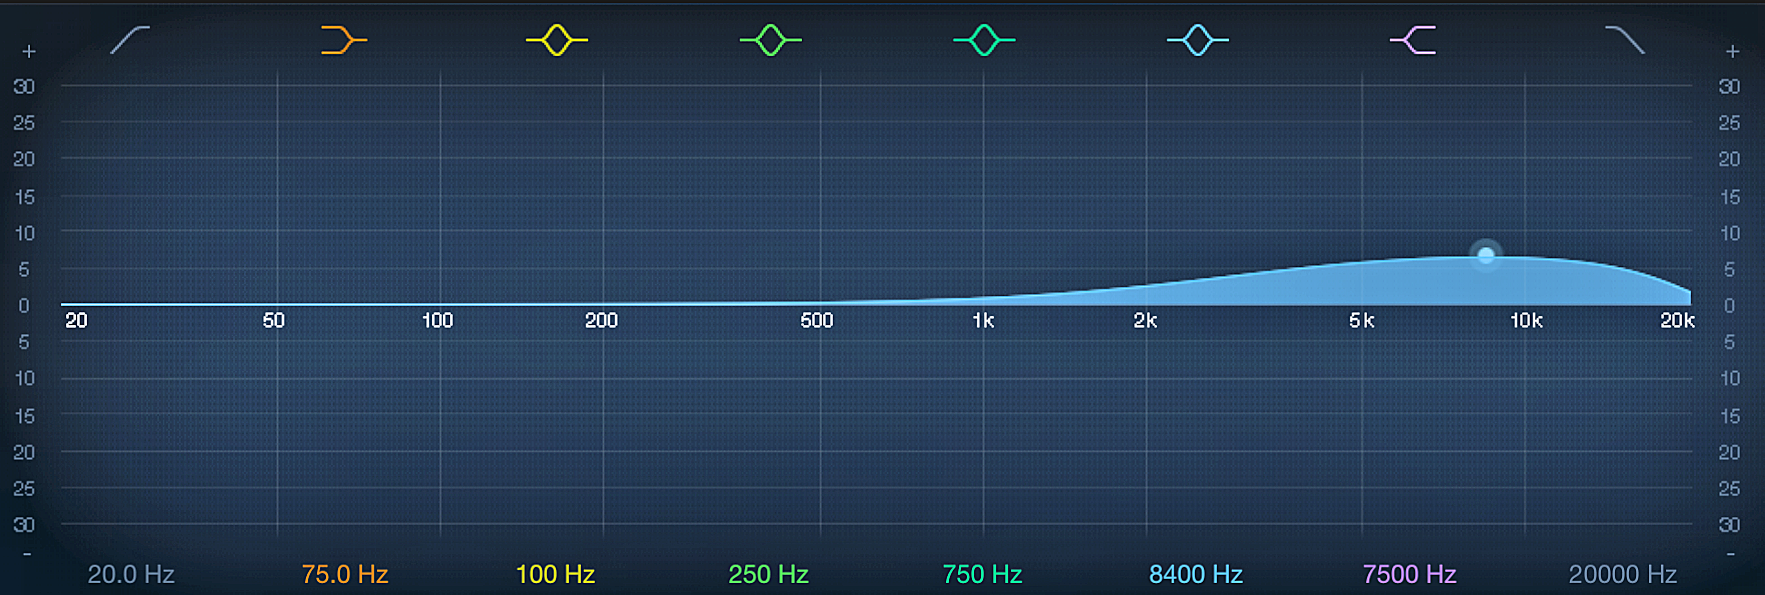
Here is an example of a high frequency boost:
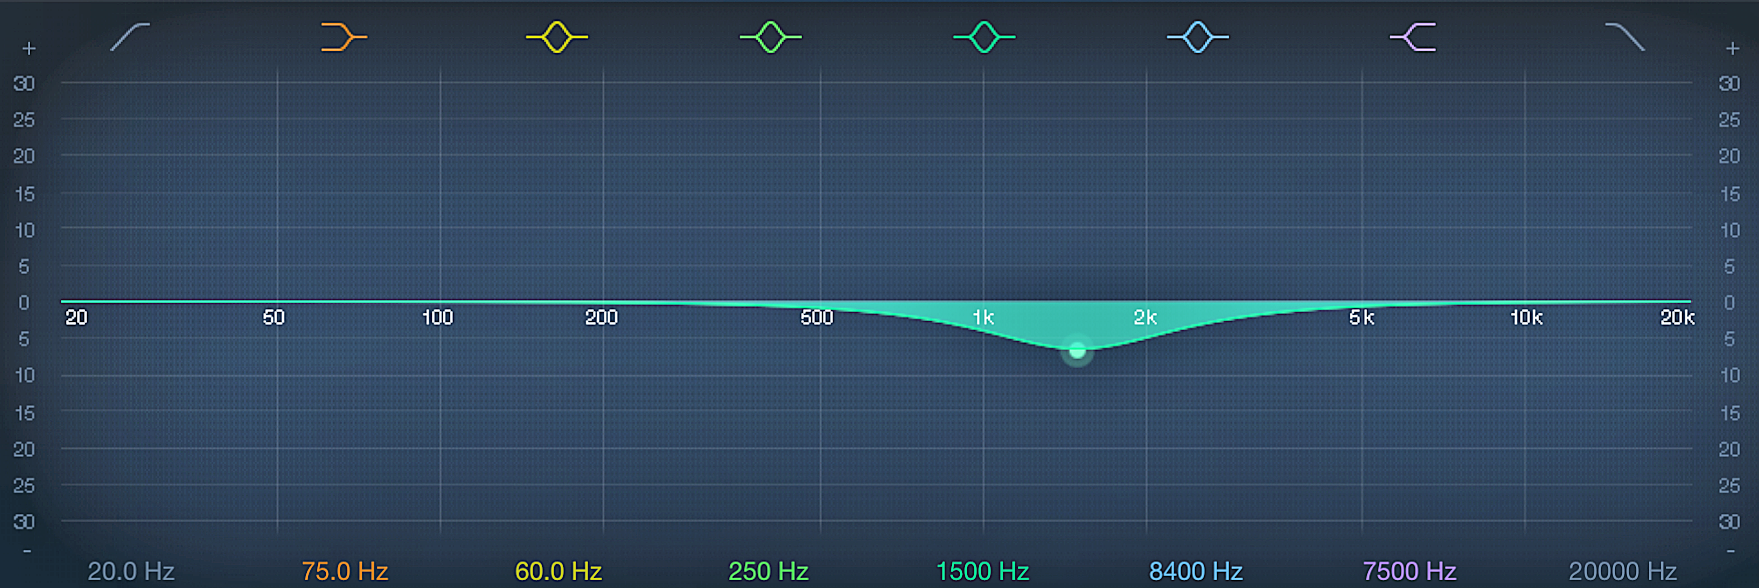
Finally, the chart below represents a cut in the midrange, softening the frequency response:
After understanding a frequency response chart, there are three more considerations to examine before we select a microphone and put it to use: its features, polar pattern and type.

